Finding a Package
From the Tools menu, select Library Package Manager and then click Package Manager Console.
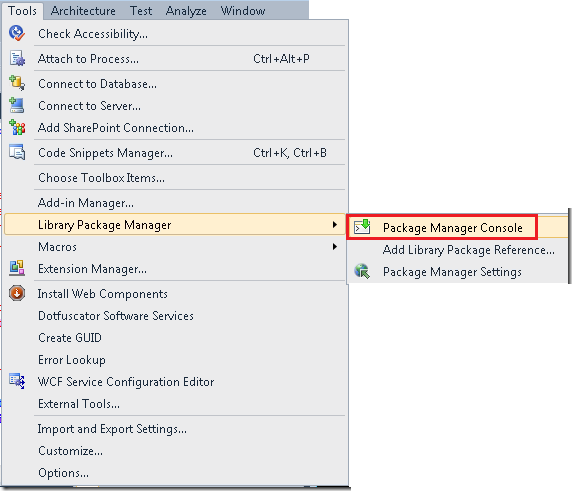
The package manager console window is displayed.

The two drop-down lists set default values that let you omit parameters from the commands you enter in the window:
- In the Package source list, select the default source (NuGet package feed) that you want your commands to use. Typically you will leave this as its default value of NuGet official package source.
- In the Default project list, select the default project that you want your commands to work with. (The default value will be the first project in the solution, not necessarily the one you have selected in Solution Explorerwhen you open the window)
When you enter commands, you can override these defaults. In the package manager console window, enter Get-Package-ListAvailable at the prompt to see a list of all packages that are available in the selected package source. Starting NuGet 3.0 Beta or higher, Get-Package also takes a -PageSize switch, which enables paging support for listing available packages from a package source.
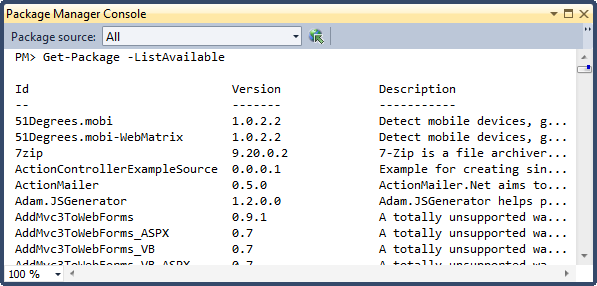
For the default package source, that command is going to list thousands of packages. It makes better sense to specify a filter.
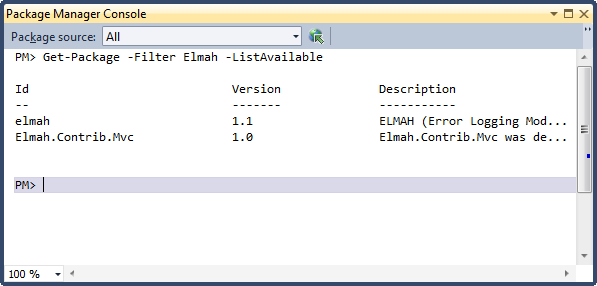
For example, to find the logging package ELMAH, enter Get-Package-ListAvailable -Filter elmah (the name of the package) or Get-Package-Filter Logging-ListAvailable (a keyword in the package description). Starting NuGet client 3.0 Beta or higher, these Get-Package commands can be replaced by Find-Package elmah or Fina-Package Logging.
Installing a Package
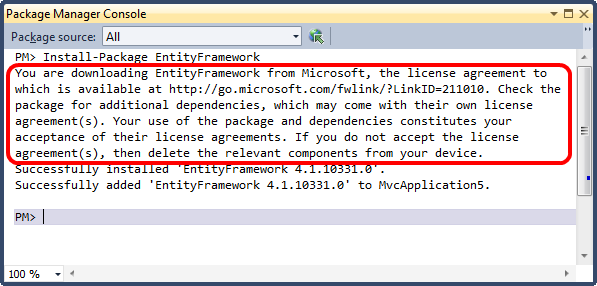
After you have found a package that you want to install, use the Install Package command with the name of the package. For example, enter the command Install-Package elmah as shown in the following example:
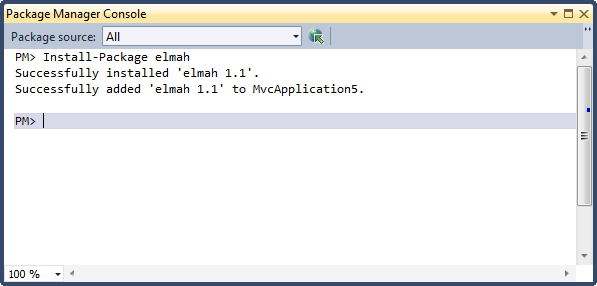
NuGet retrieves the package from the specified package source and installs it in the project that is selected in the Default project drop-down list (unless you specify a different project in the command). Files are copied to the solution, references might be added to the project, the project app.config or web.config file might be updated, etc.
If the package you are installing is dependent on other packages, NuGet installs them also if they are not already installed.
If the package requires license acceptance, you will not be prompted in a dialog box. Instead, a message states that your use of the library constitutes license acceptance.
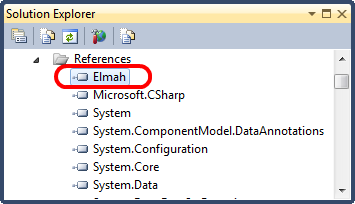
In Solution Explorer you can see references that Visual Studio has added for the installed library or libraries.
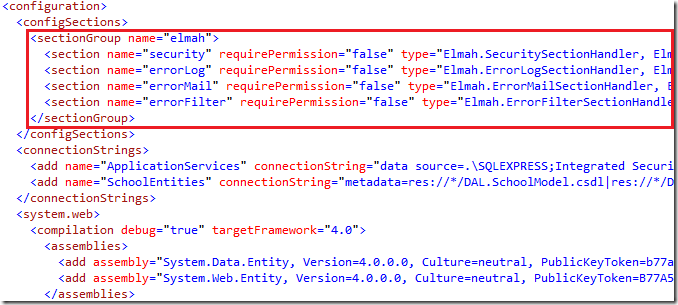
If your app.config or web.config file required changes, those have been applied. The following example shows some of the changes for ELMAH.
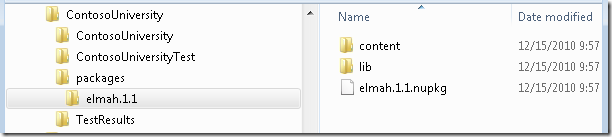
A new folder named packages is created in your solution folder. (If your project does not have a solution folder, the packages folder is created in the project folder.)
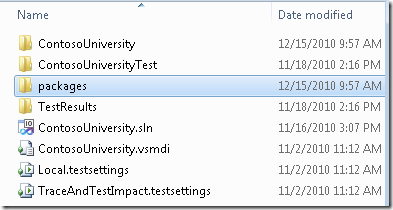
The packages folder contains a subfolder for each installed package. This subfolder contains the files installed by the package. It also contains the package file itself (the .nupkg file, which is a .zip file that contains all of the files included in the package).
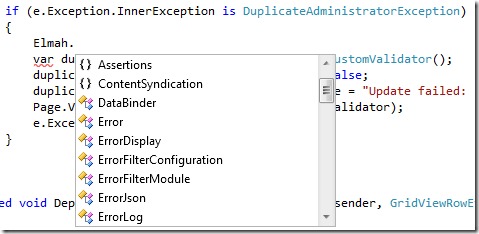
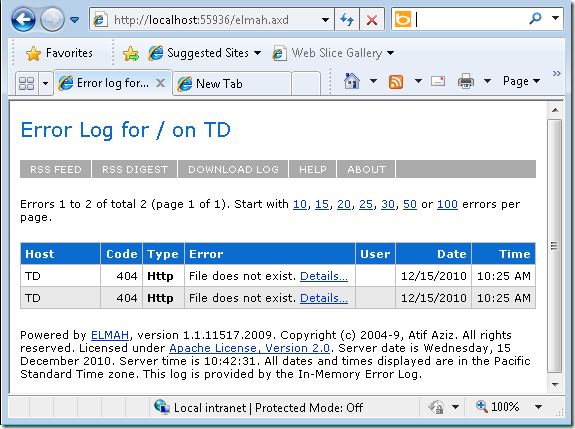
You can now use the library in your project. IntelliSense works when you enter code, and library features such as the ELMAH logging information page work when you run the project.
Extending The Package Manager Console With Packages
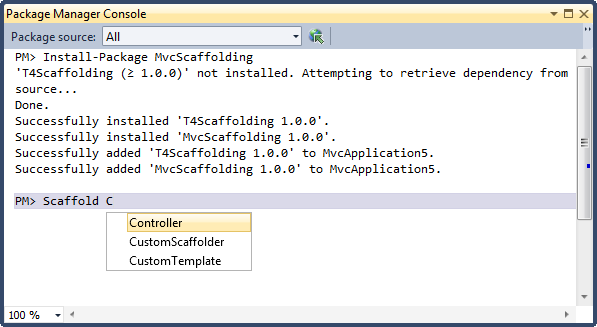
Some packages install new commands that you can use in the Package Manager Console window. One example of such a package is MvcScaffolding, which creates commands you can use to generate ASP.NET MVC controllers and views. The following illustration shows that installing MvcScaffolding creates a new command Scaffold, complete with tab expansion.
Removing a Package
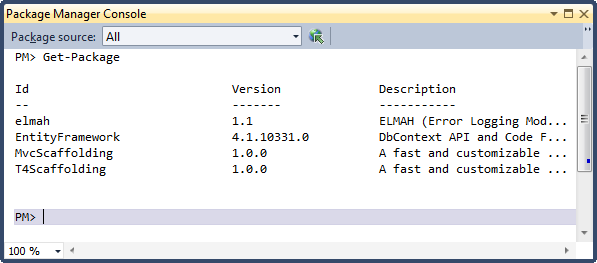
From the Tools menu, select Library Package Manager and then click Package Manager Console. If you do not already know the name of the package you want to remove, enter Get-Package at the prompt without any flags to see a list of all of the packages that are currently installed.
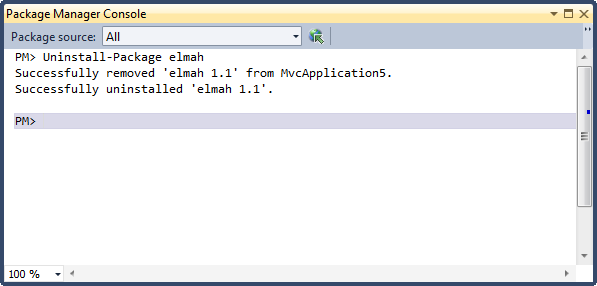
To remove a package, use the uninstall-Package command with the name of the package. For example, use the Uninstall-Package elmah command as shown in the following example:
The following package elements are removed:
- References in the project. In Solution Explorer, you no longer see the library in the References folder or the bin folder. (You might have to build the project to see it removed from the bin folder.)
- Files in the solution folder. The folder for the package you removed is deleted from the packages folder. If it is the only package you had installed, the packages folder is also deleted.)
- Any changes that were made to your app.config or web.config file are undone.
If other packages were installed because they were dependencies of the package that you removed, and if no other packages remain that are dependent on the dependency packages, the dependency packages are also removed.
Updating a Package
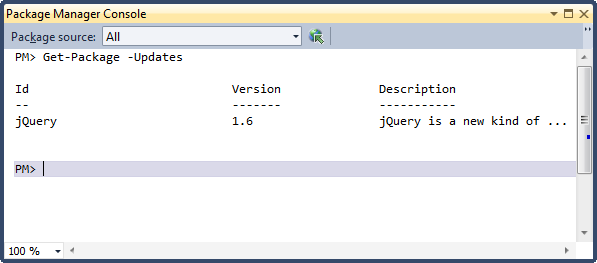
From the Tools menu, select Library Package Manager and then click Package Manager Console. To check if there are newer versions available for any installed packages, enter Get-Package -updates at the prompt.
To update a package, enter Update-Package with the package ID. For example, enter the command Update-Package jQuery. For more options that you can use with the Update-Package command, enter Get-Help Update-Package
