Select your target project on the home page. If you just registered a new account, please create a new project using the button in the upper right corner.
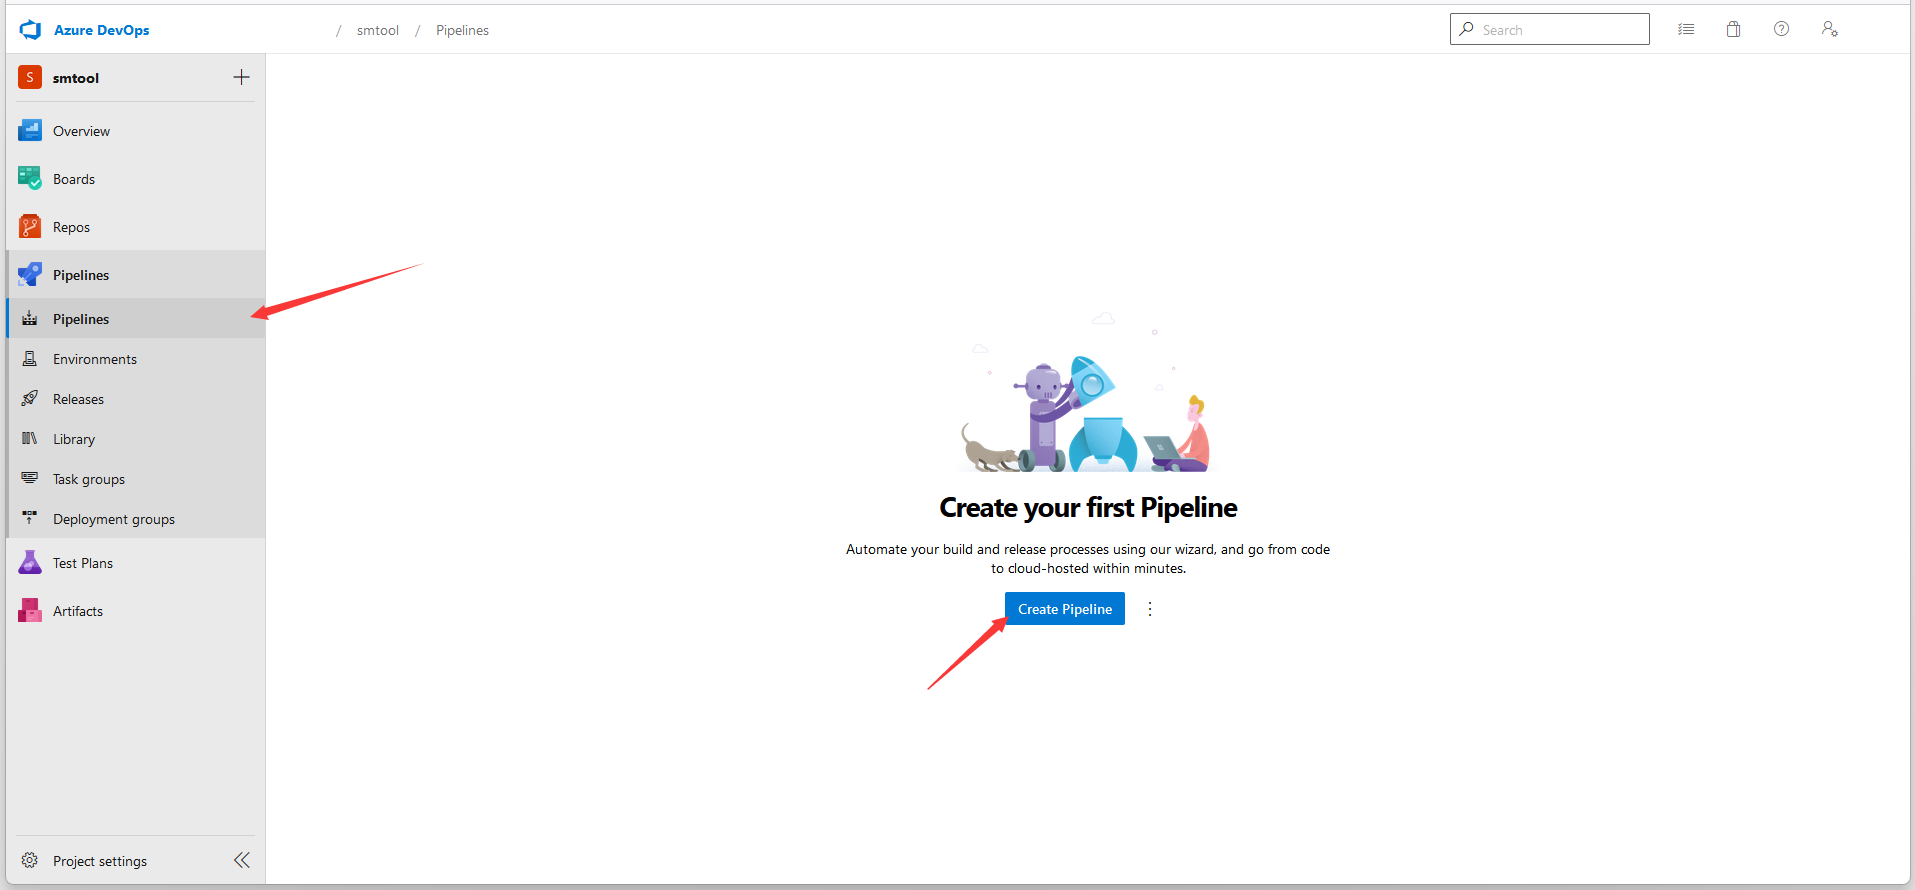
Navigate to Pipelines in the left navigation menu, then click on Create Pipeline
Click on Use the classic editor
In my case, I use Azure Repos Git and ASP.NET Core project. You can choose other options as needed; the procedures are the same, though a few fields may differ.
In the Name * field, do NOT leave any white space in the name, to prevent any unexpected problems. In the Agent Specification * field, choose "windows" since we are going to build and publish the project to a Windows platform.
Open the Publish pane, untick Zip published projects, so we can browse the published files later.
Open the Publish Artifact pane and check the Artifact name * field, as this is where the published files are located.
On the Variables page, you can update the configurations as needed. The default settings are sufficient to publish a standard ASP.NET Core app.
On the Triggers page, tick the Enable continuous integration. This will build your project pipeline whenever a change is committed to your repository.
Now, you can Save & queue your pipeline.
After Save and run, the page will automatically navigate to the Summary pane. You can check the job status and view the published results there.
Here are the published project production files. Please write down the path "drop\s" as it's case-sensitive, and we will need to use it later.
Next, navigate to the Releases page and create a new release pipeline.
For the Stages, select an Empty job,
Then close the Stage pane.
Next, add the Artifacts
Choose the Source(build pipeline) * that we created previously. If there is no specific reason, do NOT update the Source alias * field.
Enable the Continuous deployment trigger. This will execute the subsequent Stage jobs when a pipeline is built.
Next, add a task for the deployment.
Open the Agent job pane. In the Agent pool, choose Hosted Windows 2019 with VS2019 because we will use msdeploy.exe later. Ensure the Artifact download is configured to match the build pipeline.
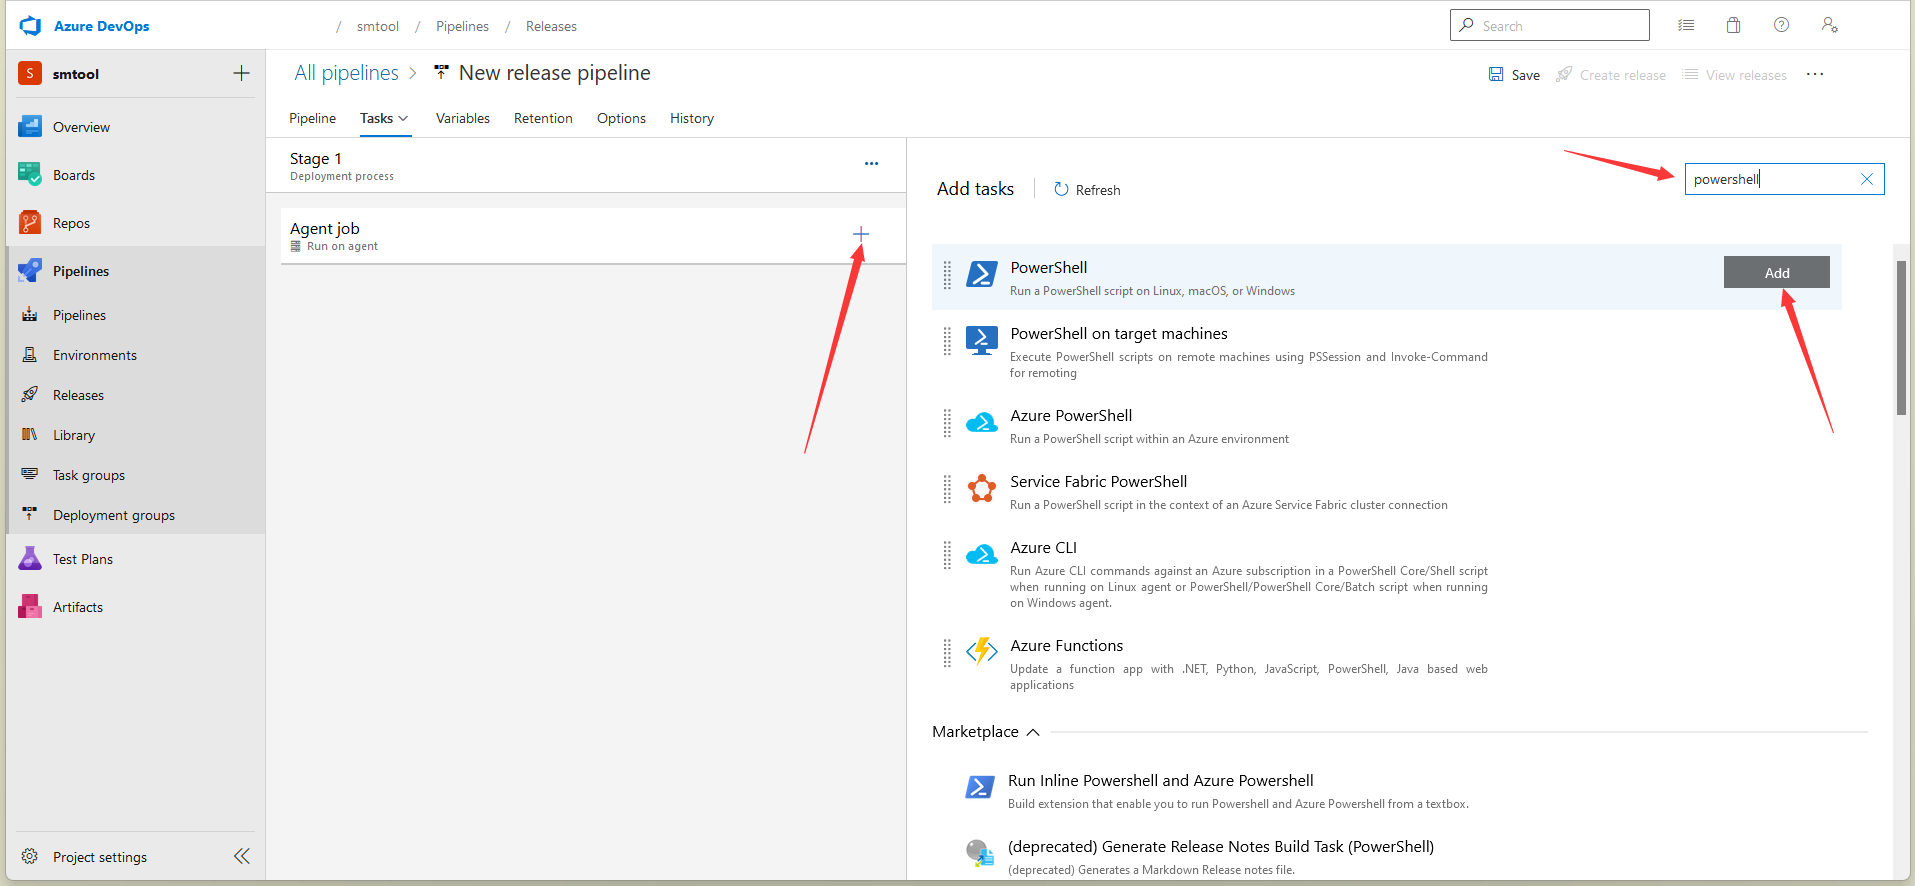
Add a PowerShell task.
| SourcePath |
your pipeline published path, default is "drop\s" |
| ServiceUrl |
your web deploy URL |
| SiteName |
your web deploy site name |
| UserName |
your web deploy user name |
| Password |
your web deploy password |
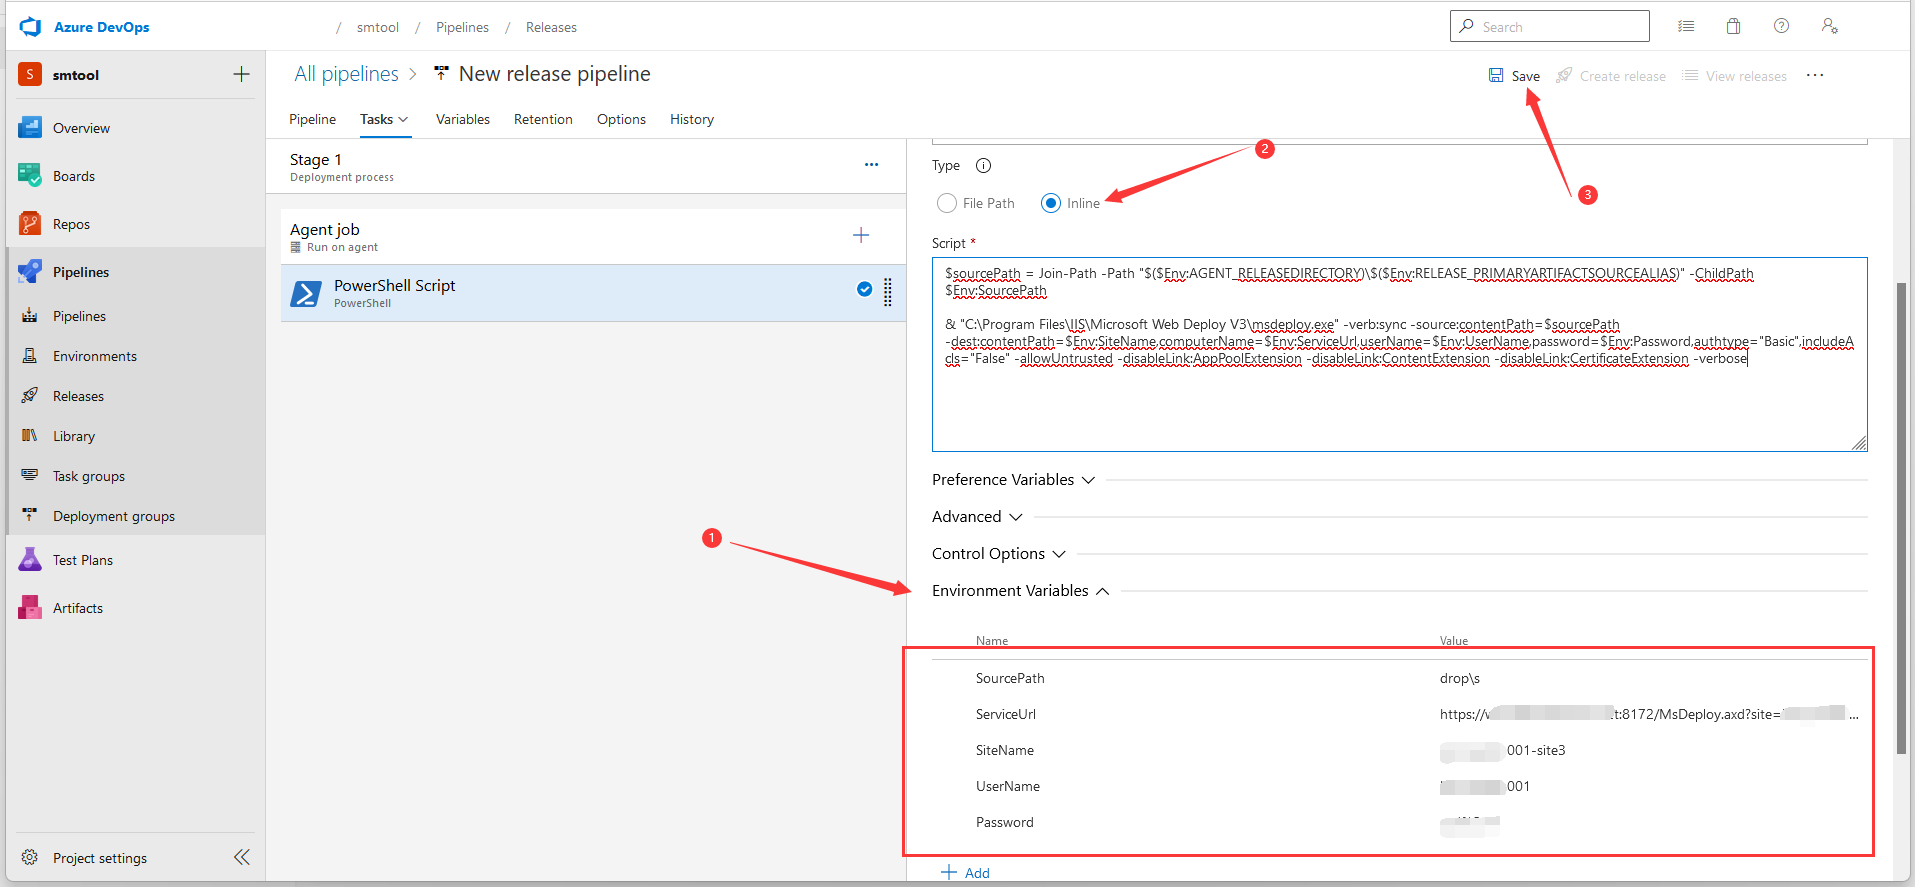
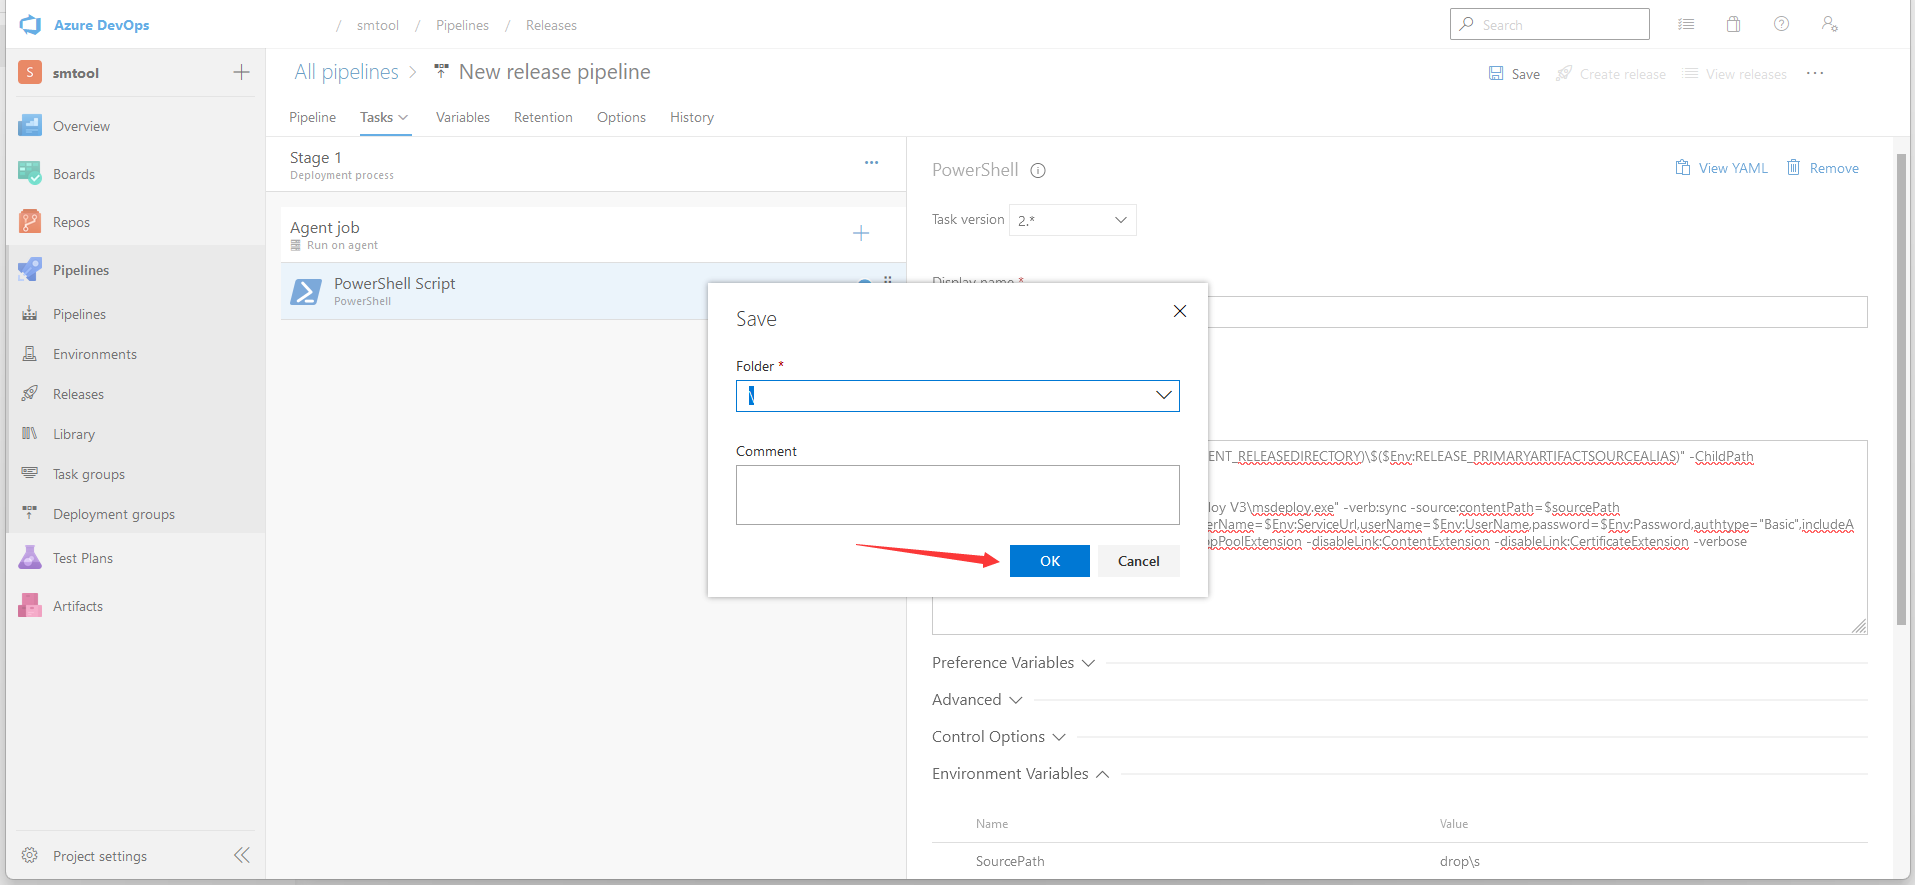
Open the PowerShell Script task, expand the Environment Variables tab, and add the above information. Then change the Type to Inline, copy & paste the following script to Script * filed. Finally, Save all things.
$sourcePath = Join-Path -Path "$($Env:AGENT_RELEASEDIRECTORY)\$($Env:RELEASE_PRIMARYARTIFACTSOURCEALIAS)" -ChildPath $Env:SourcePath

& "C:\Program Files\IIS\Microsoft Web Deploy V3\msdeploy.exe" -verb:sync -source:contentPath=$sourcePath -dest:contentPath=$Env:SiteName,computerName=$Env:ServiceUrl,userName=$Env:UserName,password=$Env:Password,authtype="Basic",includeAcls="False" -allowUntrusted -disableLink:AppPoolExtension -disableLink:ContentExtension -disableLink:CertificateExtension -enableRule:AppOffline
By default, the above command will delete all additional files at the destination. If you do not wish to do so, you can apply the DoNotDeleteRule in the command. Here's the complete script:
$sourcePath = Join-Path -Path "$($Env:AGENT_RELEASEDIRECTORY)\$($Env:RELEASE_PRIMARYARTIFACTSOURCEALIAS)" -ChildPath $Env:SourcePath

& "C:\Program Files\IIS\Microsoft Web Deploy V3\msdeploy.exe" -verb:sync -source:contentPath=$sourcePath -dest:contentPath=$Env:SiteName,computerName=$Env:ServiceUrl,userName=$Env:UserName,password=$Env:Password,authtype="Basic",includeAcls="False" -allowUntrusted -disableLink:AppPoolExtension -disableLink:ContentExtension -disableLink:CertificateExtension -enableRule:AppOffline -enableRule:DoNotDeleteRule
Now, let's Create release for the configured pipeline, this will execute the Stage Agent job to deploy your project.
Cheers! We have completed all the procedures. Please check the status of your Stage for the release pipeline. If it fails, check the error log for troubleshooting. Next, check your site URL. All changes committed to your repository have been built and published to your production server.
Please feel free to contact our support if you need any assistance.